Energy Star Advanced Lighting Package
Posted Tue, 10/20/2009 - 17:37 by kpbadger
Today we received our certificate:
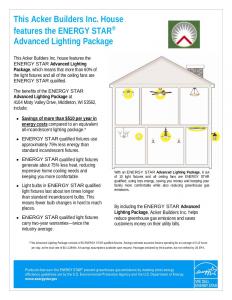
The qualification for the Advanced Lighting Package is as follows:
- 60% or more of light fixtures Energy Star qualified
- 100% of ceiling fans Energy Star qualified
In our home we have 3 ceiling fans (master and kids' bedroom and rear porch) all of which are Energy Star qualified. We have a total of 56 light fixtures of which 50 are Energy Star qualified, for a "score" of 89.3%.
Here are the non qualified fixtures, and why:
- Light kits on fans in master and kids' bedroom -- because we want these to be on a dimmer switch and the dimmable CFL bulbs are "not quite there" yet, incandescent bulbs were needed.
- Master bathroom tub light -- again we wanted it connected to a dimmer switch.
- Fan light kit on porch -- we picked a light kit that we really liked to match the exterior style of the home. There just was not a big selection of Energy Star qualified damp-rated fan light kits. This fan light kit is also on a dimmer.
- Flood lights for back yard (2) -- these are on photocells and motion sensors.
In addition to energy savings, there is a $15-per fixture rebate through Focus on Energy. Unfortunately it's capped at 12 fixtures but that is still a healthy rebate at $180. Also the fixtures all contained their own bulbs which is a further savings versus traditional fixtures.
Generally, we found that with few exceptions, Energy Star qualfied fixtures were available in the styles and sizes to meet our needs. Additionally, many online retailers (e.g. lightingdirect.com and lightingbygregory.com) offer filtering by Energy Star qualfied fixtures, which is very handy.
The least efficient hot water heater we could find
Posted Fri, 10/16/2009 - 07:27 by kpbadger
I thought that would get your attention! ;-)
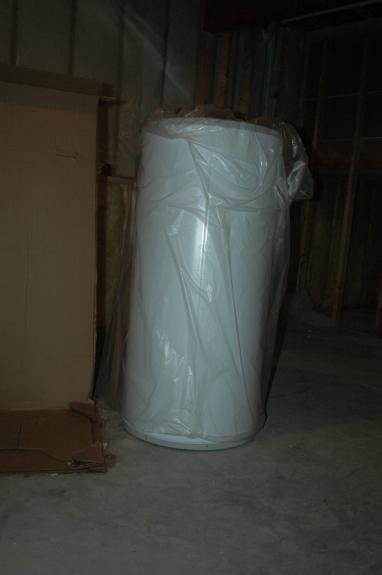
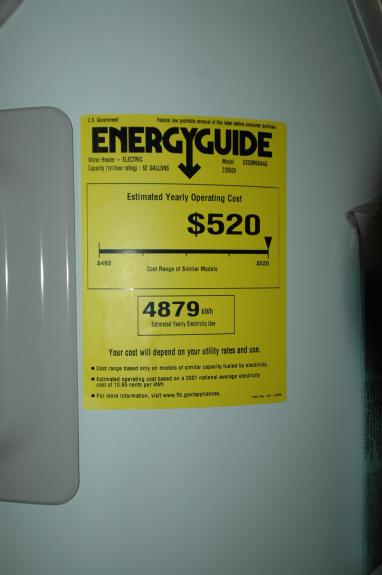
Due to some apparent confusion between the builder, plumber, and HVAC contractor, we had to shell out for the second hot water tank that we believed was already included in our contract (lesson learned I suppose). So we found this tank at the Home Depot for $250 plus tax:
Here's the explanation of why we chose the least efficient electric hot water heater available.
Our geothermal heat pump has the capability to generate domestic hot water using its "desuperheater." Some of the heat that is removed from the air in the summer, which would ordinarily be expelled into the ground, is instead used to heat water. Even in the winter, when the system is heating the air, a small amount of excess heat is used to heat some water.
But the water is not always being heated, and it's generating hot water on its own heating and cooling schedule. It doesn't care when someone is in the shower (like an "on-demand" tankless heater). Therefore one doesn't just hook this up directly in line with the hot water piping.
Enter the "pre-heat" tank (for us, the above pictured el-cheapo Home Depot special). Cold water comes in from the utility and fills this pre-heat tank. The "desuperheater" is connected to this pre-heat tank, circulating the water through the heat pump. So the water in this first tank is heated by our geothermal heat pump, a little bit in the winter, and a lot in the summer. It saves energy because the warmer the water that enters the second (powered) tank, the less energy that the second tank needs to expend to heat the water.
You have probably already figured out that the pre-heat tank is never hooked up to electricity. So even though our tank may be an energy hog, in our house it consumes exactly 0 kWh per year.
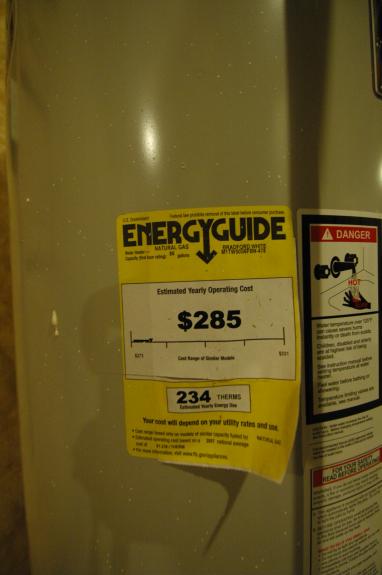
By the way, the "powered" hot water heater we selected is natural gas fired, Energy Star rated, one of the top performers for its class, and qualified for a Focus on Energy cash rebate.
Bamboo, Driveway, and Fixtures, oh my!
Posted Mon, 10/12/2009 - 21:29 by kpbadger
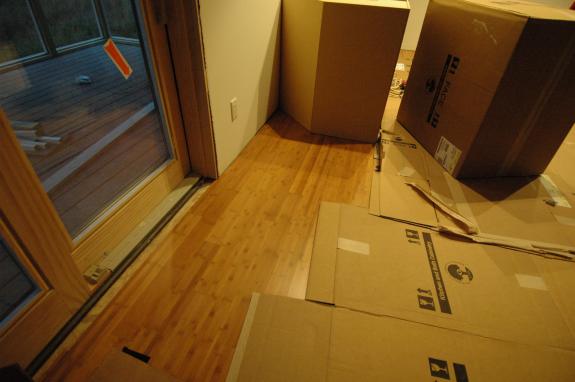
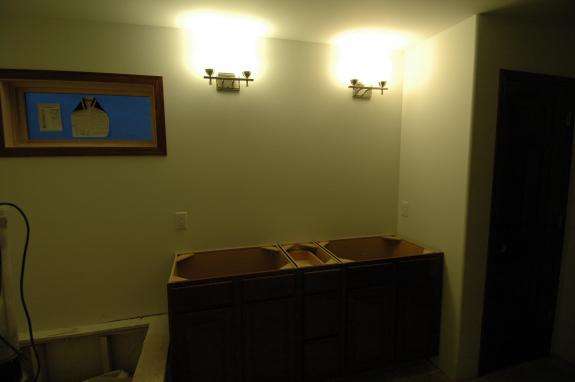
Lots of progress at the house today. We will start in the kitchen, where the bamboo floor was installed. It is mostly covered by cardboard for protection, so these pictures do not really do it justice. (We chose bamboo because it is a fast-growing plant -- actually a grass -- so it is renewable. And, we liked the look better than traditional hardwood.)
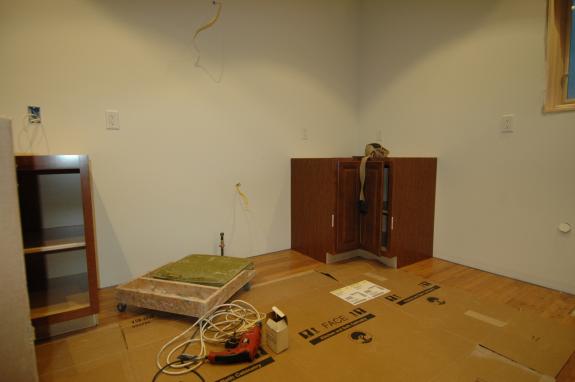
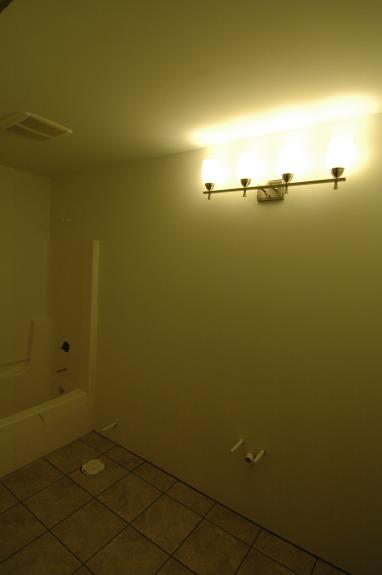
Throughout the house, the electricians were busy installing light fixtures. Our final count is 56 light fixtures, of which 50 are Energy Star qualified. (Of the 6 that aren't, 2 are the backyard security lights on a motion detector, and 4 are on interior dimmer switches.) Except for the LED cans described in a previous post, these Energy Star fixtures have compact fluorescent bulbs.

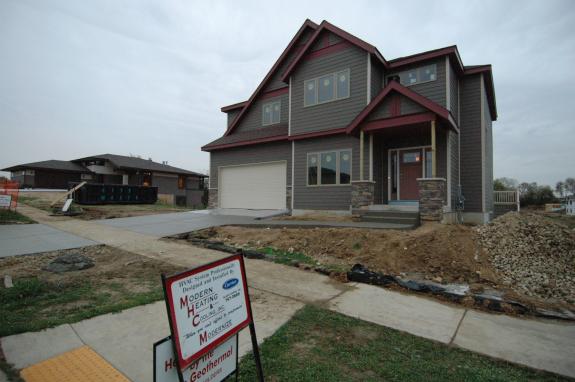
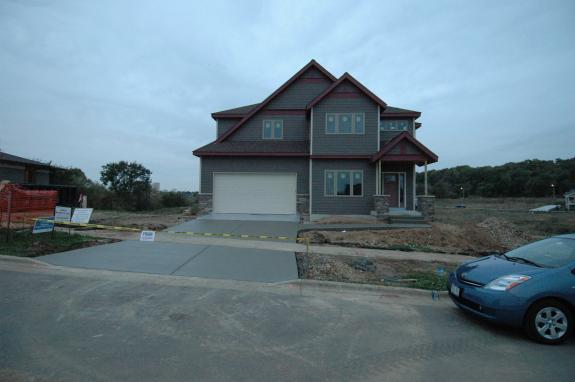
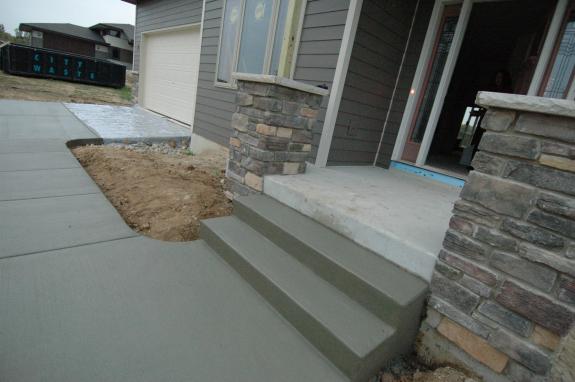
Outside, today they poured the driveway, front walk, and steps leading up to the front porch.
In the coming days, we expect continued installation of the bamboo floor (throughout the lower level hallway and powder room), installation of cabinetry, and measurement for countertops in the kitchen. I will also be meeting with our landscape architect to make final decisions on some green-built features that we want to integrate into the landscape.
LED Recessed Lighting
Posted Fri, 10/09/2009 - 21:06 by kpbadger
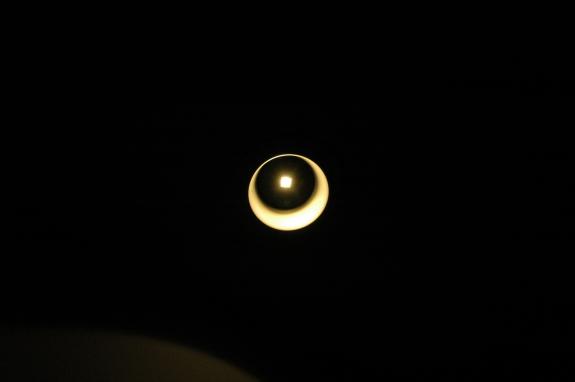
Our visit to the house tonight was at dusk, and that turned out to be perfect. The electricians today installed our LED recessed lighting in the kitchen and dining room and we got to see them in action.
Our choice was the Halo Lighting ML706830 fixture, the H750ICAT housing, and 494H06 trim. Together, these parts are Energy Star qualified and also eligible for a Focus on Energy rebate ($30 per kit). These fixtures use less than 15 watts each. (Read Brochure)
Here's what one looks like close up - see that the LED light source is really just a small square in the center of the can.

Benefits:
- Uses 75% less energy than an incandescent bulb
- Brighter than average 65 watt incandescent bulb
- Unlike most CFL bulbs, LEDs are dimmable
- Lasts 5 times longer than fluorescent and 50 times longer than incandescent
- CRI over 80 and warm light (CCT of 3000K)
- 3 year warranty
What we paid:
- Housing: $11.40
- LED module: $74.00
- Trim: $12.95
- Subtotal per LED fixture: $98.35
- Focus on Energy rebate: ( $30.00 )
- Net per LED fixture: $68.35
Comparison and savings:
Our electrician, Dan Flanders, kept in touch with us throughout our selection and purchase of the LED fixtures, and they installed and wired the LEDs for the same rate as normal recessed lighting. Their standard rate to supply a recessed fixture and bulb is $30.00. Therefore our net cost to "upgrade" from a standard incandescent recessed fixture to LED was $68.35 - $30.00 = $38.35 per fixture.
At a conservative estimate of 6 hours per day @ $0.11 per kWh, a 65 watt incandescent would cost $15.66 per year to operate. The LED fixture costs $3.37 per year under the same assumptions. At a difference of $12.29, the payback for our upgrade is slightly over 3 years. That does not include the cost of bulb replacement, which again is 50 times less frequent than incandescent.
This, folks, is what we call a no-brainer ..... if, of course, it produces enough light and doesn't give our kitchen the warmth of a hospital room.
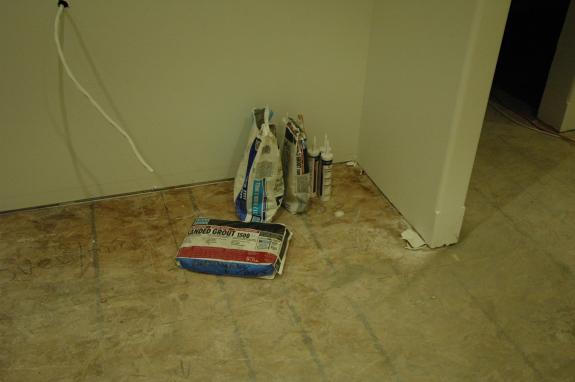
The verdict -- plenty of ambient light, good color rendering based on some construction materials that were lying around (see the orange extension cord and the red and blue on the grout bag), and good light density at counter level. The final confirmation can only come once the cabinets and countertops are installed. But based on first impressions, we're definitely satisfied with the choice!
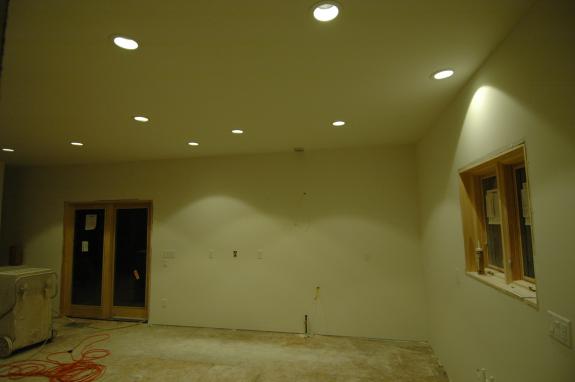

LED lights are installed: 1 over kitchen sink; 4 over general kitchen area; 2 over kitchen counter peninsula; 4 over dining room. Total 11.
Drywall hung
Posted Sun, 09/27/2009 - 23:25 by kpbadger
Due to some travel it's been over a week since my prior post, so here is an update on what has been going on at the house.
On Monday (9/21) we met with Laura for the second Energy Star site visit. The second visit is the post-insulation, pre-drywall visit. Because we had opted for the blown-in insulation in the walls and spray foam insulation in selected places, there was not a whole lot to check at this visit.
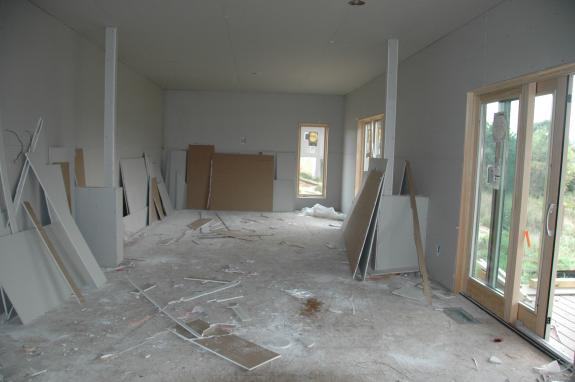
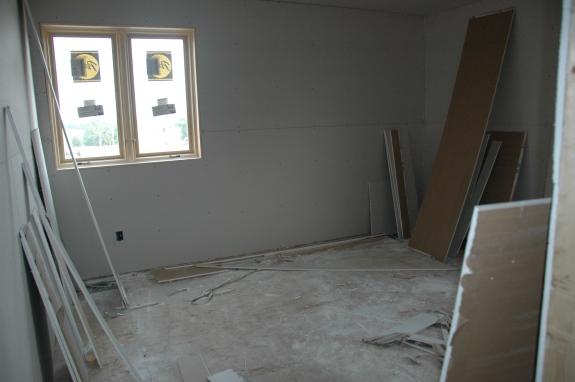
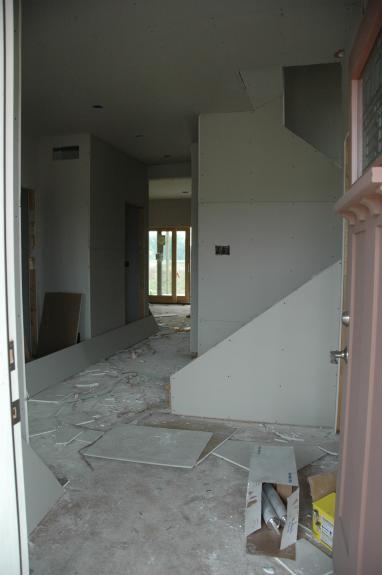
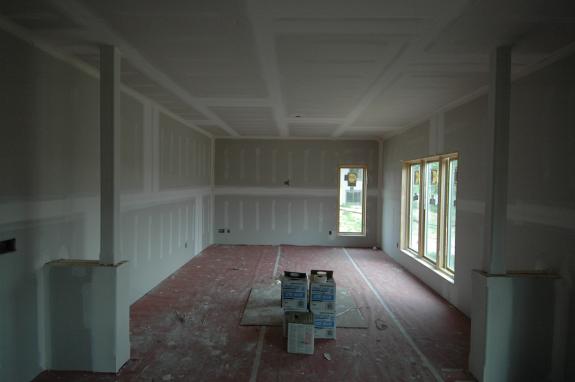
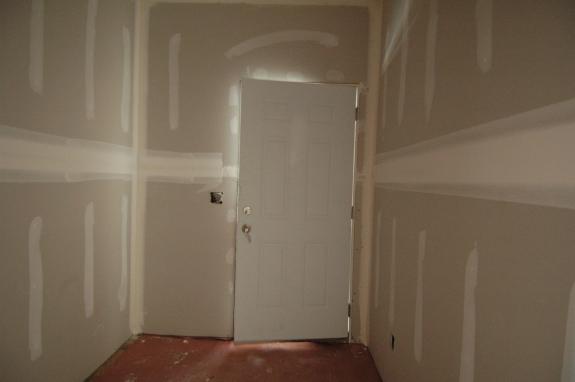
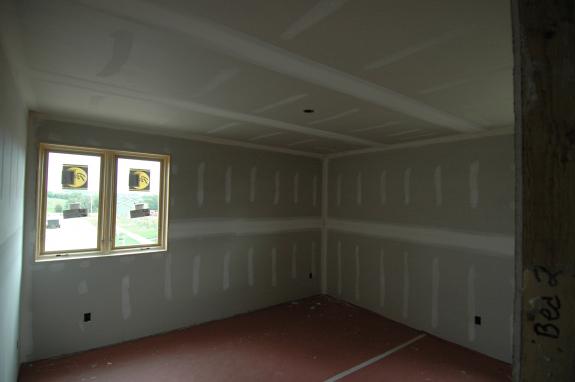
Throughout the week, the drywall was hung. Here are some pictures taken Wednesday (9/23) in the middle of the project:
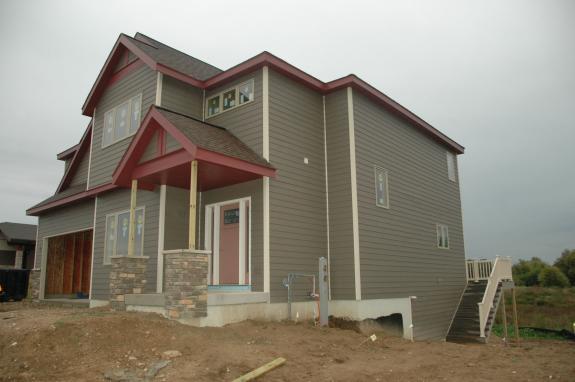
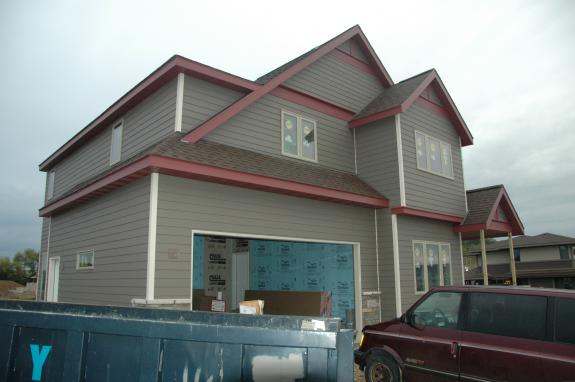
The stone on the garage walls and front pillars was also installed, and the fiber cement siding is now completely installed.
By Sunday, the drywall was taped and mudded.
One drywall upgrade that we added was "Quiet Rock" on the wall between the back bedroom and the master bath, and between the office and the adjoining bathroom and laundry room. This product is the same thickness as traditional drywall, but has additional mass to cut down sound transmission. This, along with the insulation in the walls, should make the rooms adjacent to the bathrooms and laundry rooms a bit quieter.
In addition, during the week, some trees between our home and Graber Pond were removed. This is reportedly to improve the habitat for the endangered blanding turtle. A nice side-effect is an improvement of our view of the pond. This picture is taken from the back bedroom window:
